
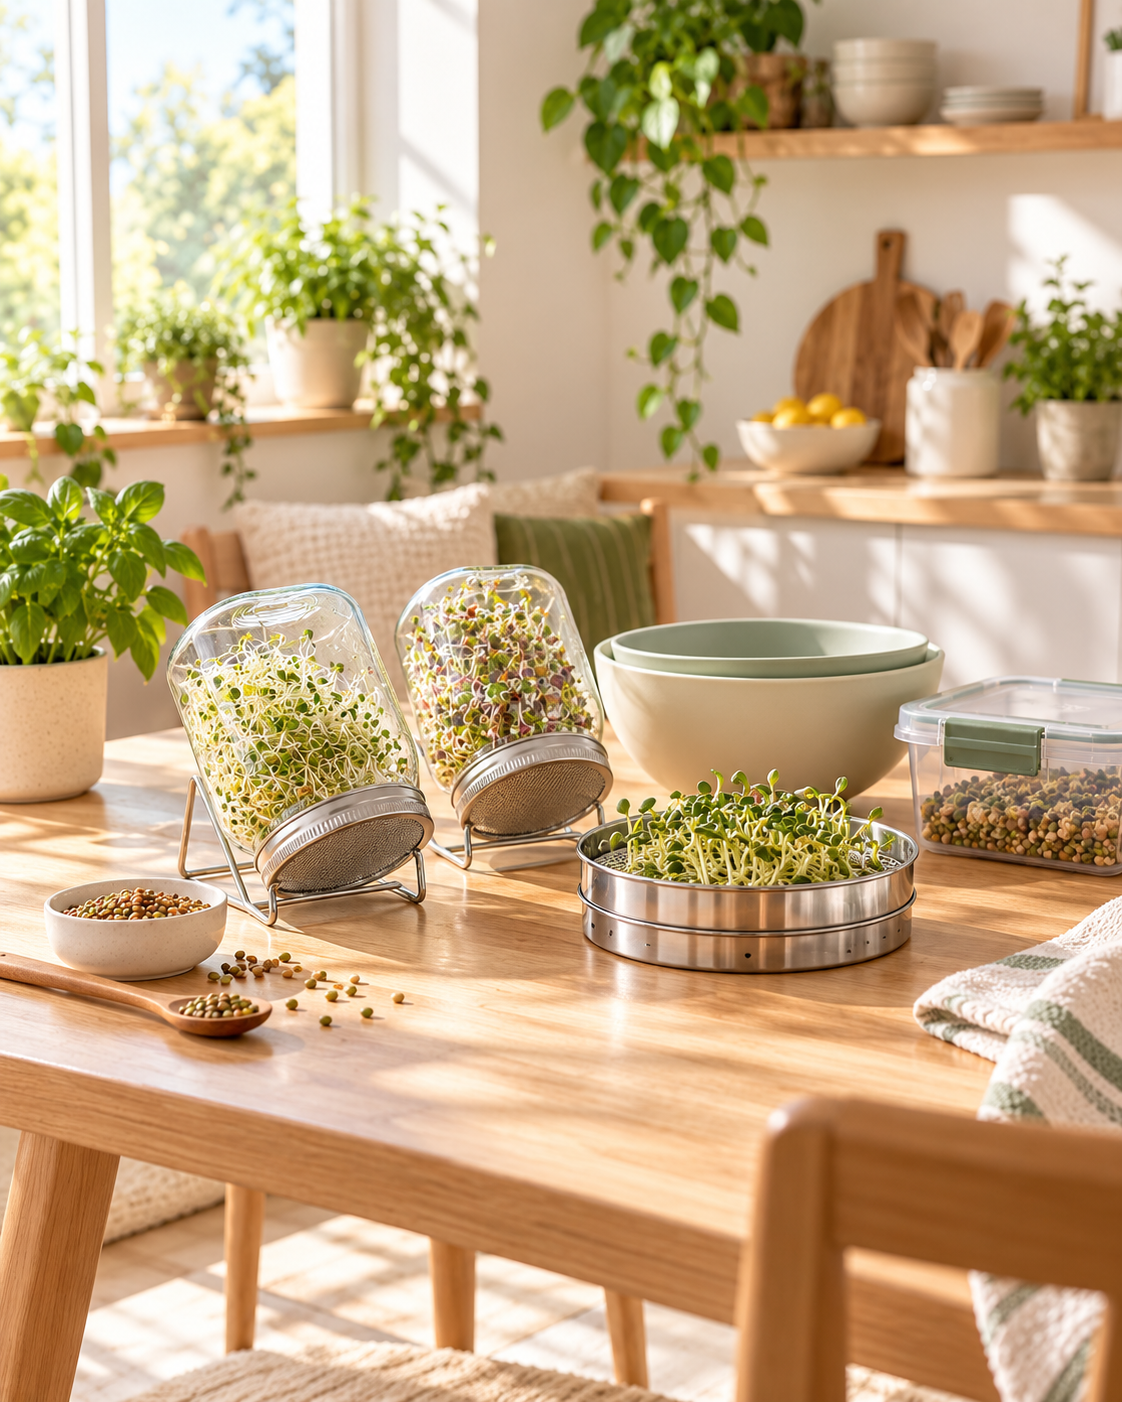
You don't need a backyard or a greenhouse to start growing some of your own food.
A small corner of the kitchen can be enough to grow broccoli sprouts, radish sprouts, mung bean sprouts, or lentil sprouts. If you've watched someone growing sprouts in a jar on their counter, you've probably wondered whether you could do the same.
You can. But choosing the right container matters more than many beginners realize.
An old plastic tub might look convenient, while a glass jar or stainless steel seed sprouter tray may be a better choice for managing drainage and cleaning.
Before buying anything, here's what you should know about growing sprouts at home, choosing containers, and preparing your harvest.
What Is the Best Container to Grow Sprouts at Home?
For most beginners in the USA, a purpose-designed glass sprouting jar or a seed sprouter tray with drainage is a practical starting point.
Sprouts need moisture, but they shouldn't remain submerged in stagnant water. The growing equipment should also be easy to clean.
Here are the common options:
|
Container |
Best For |
|
Glass sprouting jar |
Small batches of edible seed sprouts |
|
Stainless steel sprouting tray |
Repeated sprouting with good drainage |
|
Stackable seed sprouter tray |
Growing several varieties separately |
|
DIY sprouting container |
Low-cost experiments |
|
Mixing bowl |
Measuring, sorting, rinsing, and preparing seeds |
A mixing bowl is useful in the process, but an ordinary bowl without drainage isn't a replacement for a sprouting tray.
How to Grow Sprouts at Home Step by Step
Growing edible seed sprouts is straightforward, but food safety deserves attention.
Sprouting conditions can also encourage bacteria such as Salmonella and E. coli. The FDA has documented outbreaks associated with contaminated sprouts, including contamination originating from seeds.
1. Start With Seeds Intended for Sprouting
Choose seeds specifically sold for edible sprouting.
Broccoli, radish, lentils, and mung beans are common choices.
Avoid ordinary garden seeds that may have chemical treatments unsuitable for food production.
Buying seeds intended for sprouting is sensible, but it doesn't guarantee they are free from harmful bacteria.
2. Prepare Your Seeds With a Clean Mixing Bowl
Before seeds go into your sprouter, measure and sort them using clean kitchen equipment.
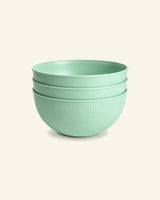
The Greentainer 5-Piece Mixing Bowls with Lids are useful for this preparation work.
The set includes five nesting bowl sizes, from approximately 0.85 to 5 quarts.
Use a smaller bowl for measuring seeds and a larger one for sorting or transferring ingredients.
Afterward, the bowls can be washed and stored together without occupying five separate shelves.
3. Prepare Your Growing Container
Choose a clean sprouting jar or tray designed for edible seeds.
Follow the seed supplier's directions for soaking and rinsing. Different varieties have different requirements.
Use drinking-quality water and allow it to drain thoroughly.
Do not seal wet sprouts inside an airtight container during germination.
4. Monitor Your Sprouts
Many common edible seed sprouts develop within three to seven days.
Follow the sprouting equipment manufacturer's instructions for managing moisture, airflow, and cleaning.
Discard batches showing mold or spoilage.
Remember that harmful bacteria may be present even without visible signs. Cooking sprouts thoroughly is safer than eating them raw.
Small Containers to Grow Sprouts at Home
A small container to grow sprouts at home makes sense when you're starting with limited kitchen space.
You don't need a large multi-level growing system for your first batch.
A compact sprouting jar or small draining tray can fit on a countertop without interfering with daily cooking.
Choose based on how many sprouts you want, how easily you can clean the equipment, and whether water drains properly.
Don't overcrowd the container. Sprouts need enough space for effective rinsing and drainage.
If you're growing several varieties, separate containers can make cleaning and monitoring easier.
Sprouting Container DIY: Can You Make One Yourself?
A DIY sprouting container can be an inexpensive introduction to home gardening.
One common approach uses a clean glass mason jar and a purpose-made sprouting mesh lid.
The mesh allows water to drain after rinsing.
However, a homemade setup needs careful cleaning, suitable food-contact materials, and secure components.
Avoid containers previously used for chemicals, damaged plastic tubs, and unsuitable metal screens that might rust or corrode.
If you're unsure whether a material is appropriate for food contact, choose a purpose-built sprouter instead.
A DIY setup doesn't remove the bacterial risks associated with raw sprouts.
Are Stainless Steel Sprouting Trays Better Than Plastic?
Stainless steel sprouting trays are worth considering if you plan to grow sprouts regularly.
A suitable stainless steel tray is durable, washable, and doesn't rely on a plastic growing surface.
Look for food-contact-grade material, smooth edges, drainage holes, and a design you can clean thoroughly.
Glass is another popular option because its smooth surface is easy to inspect and clean.
Food-grade plastic can also be suitable for its intended use, but avoid unidentified, scratched, or deteriorating containers.
What About Microplastics?
Microplastics are small plastic particles found in the environment and some food samples.
Research into their health effects is ongoing.
The FDA says current scientific evidence does not demonstrate that the levels detected in foods pose a human health risk, although important questions remain.
Choosing glass or stainless steel can reduce direct contact between food and plastic surfaces, but it doesn't guarantee microplastic-free food.
BPA-free plastic also shouldn't be described as automatically microplastic-free.
For seed preparation, Greentainer's borosilicate glass mixing bowls offer another option for customers who prefer glass food-contact surfaces.
Seed Sprouter Tray vs. Sprouting Trays With Lids
Not every tray with a lid is suitable for sprouting.
A proper seed sprouter tray should allow water to drain and provide adequate airflow.
Some systems have multiple stackable levels, which can help a home sprouts grower keep different seeds separate.
Sprouting trays with lids may include covers intended to manage light or moisture, but that doesn't mean the trays should remain airtight.
Follow the manufacturer's instructions for the specific system.
Food storage containers with sealed lids serve a different purpose. They're useful for storing prepared food, not necessarily for germinating seeds.
Container to Grow Sprouts at Home: USA Prices
How much should you spend on sprouting equipment?
Prices vary by material, size, brand, and construction.
A basic DIY glass-jar setup is usually among the lower-cost options, especially if you already own a suitable jar.
Purpose-built plastic sprouting trays can be affordable, while larger stainless steel and multi-tier growing systems generally cost more.
Before purchasing, compare the complete setup rather than just its listed price.
Some inexpensive jars still require a separate draining lid or stand.
Also consider replacement parts, cleaning requirements, and whether you'll use the equipment regularly.
For seed preparation and everyday cooking, a multi-size mixing bowl set can be useful beyond gardening.
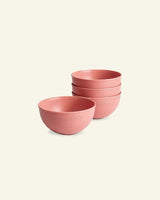
The Greentainer 5-Piece Nesting Mixing Bowl Set works for food preparation, baking, salads, and mixing vegetables after harvesting.
Growing Brussels Sprouts for Thanksgiving and Christmas
Brussels sprouts and edible seed sprouts are often confused.
If you want the little green vegetables served at Thanksgiving, you'll need a different growing setup.
Brussels sprouts grow on large plants and take several months to reach harvest.
Start seeds in proper seed-starting trays, then transplant seedlings into a garden bed or sufficiently large outdoor planter.
They prefer cool growing conditions and need adequate sunlight, nutrients, and space.
Planting schedules vary across the USA. Gardeners in northern states generally follow different schedules from those in warmer southern regions.
Plan backward from your expected harvest and check your local university extension's planting calendar.
A kitchen mixing bowl is useful for preparing the harvested vegetables, but it should not replace a planting pot.
Preparing and Storing Homegrown Sprouts
After harvesting your vegetables, the kitchen tools you already use become important.
For Brussels sprouts, remove damaged outer leaves and trim the ends before cooking.
A large mixing bowl makes it easier to toss the vegetables with olive oil, garlic, salt, and pepper before roasting.
Greentainer's nesting bowls offer different sizes for small family meals or larger holiday gatherings.
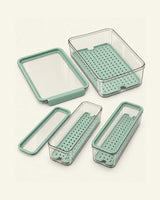
For refrigerated produce, the Greentainer 5L Produce Storage Container with Colander has a removable inner basket that separates vegetables from accumulated moisture.
It's intended for refrigerator storage rather than growing edible sprouts.
Keep harvested vegetables refrigerated and follow appropriate food-storage guidance.
Frequently Asked Questions
What is the best container to grow sprouts at home in the USA?
A purpose-built glass sprouting jar or draining seed sprouter tray is suitable for many beginners. Choose equipment that's designed for food contact and easy to clean.
Can you use a mixing bowl to grow sprouts?
A mixing bowl helps with measuring and preparing seeds, but an ordinary bowl lacks the drainage of a dedicated sprouter. Use it for preparation rather than germination.
Are stainless steel sprouting trays safe?
Food-contact-grade stainless steel trays are a practical option when they're designed for growing sprouts and can be cleaned thoroughly. Safe equipment does not eliminate the risk of contaminated seeds.
Do sprouting trays need lids?
Some systems use ventilated covers or lids for particular growing stages. Follow the manufacturer's instructions rather than sealing sprouts in an airtight container.
What is the cheapest DIY sprouting container?
A suitable glass jar with a food-safe sprouting mesh lid can be an inexpensive option. The jar needs proper drainage and regular cleaning.
Can Brussels sprouts grow in a small kitchen container?
You can start Brussels sprout seedlings indoors, but mature plants need much more room. For a full harvest, use a garden bed or sufficiently large planter.
How long do sprouts take to grow?
Common edible seed sprouts may grow in approximately three to seven days. Brussels sprouts grown for their vegetable heads take several months.
The Right Containers Make Home Gardening More Manageable
Start with a sprouting system that drains properly, seeds intended for edible sprouting, and realistic expectations about food safety.
Then think about what happens after harvest.
You'll need to measure ingredients, wash vegetables, mix seasonings, and prepare food for the table.
That's where a dependable bowl set earns its place in the kitchen.
Explore Greentainer's 5-Piece Mixing Bowls with Lids for everyday food preparation, from small batches of vegetables to holiday family dinners.


